Part 1: Setup a Pantheon.io Account and Install WordPress
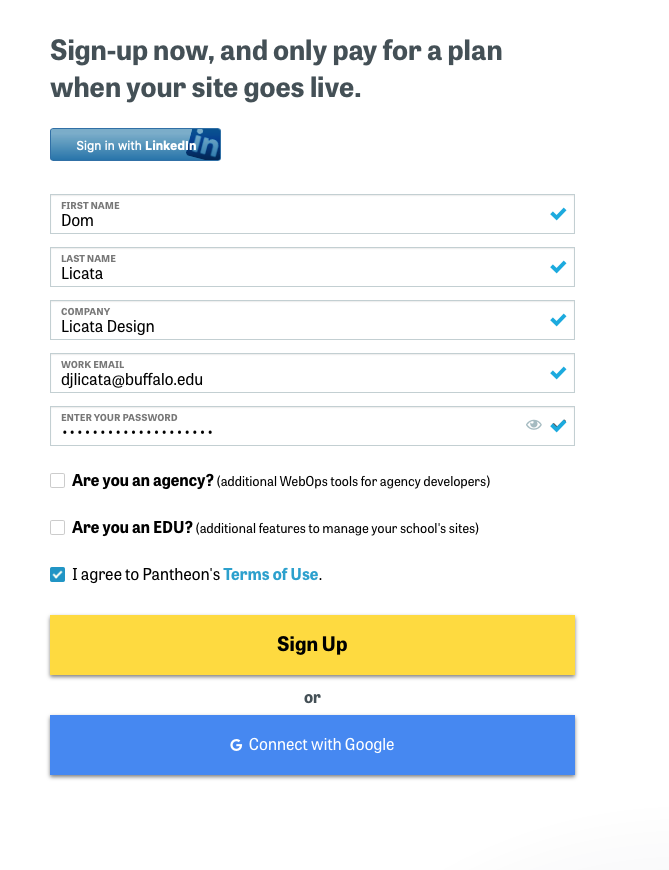
- Go to http://Pantheon.io and click to setup a Free Dev Account. Fill out required information, and be sure to remember the password that you enter.
DO NOT USE WITH GOOGLE (@gmail.com) CREDENTIALS. Setup your account using your UB Email address.
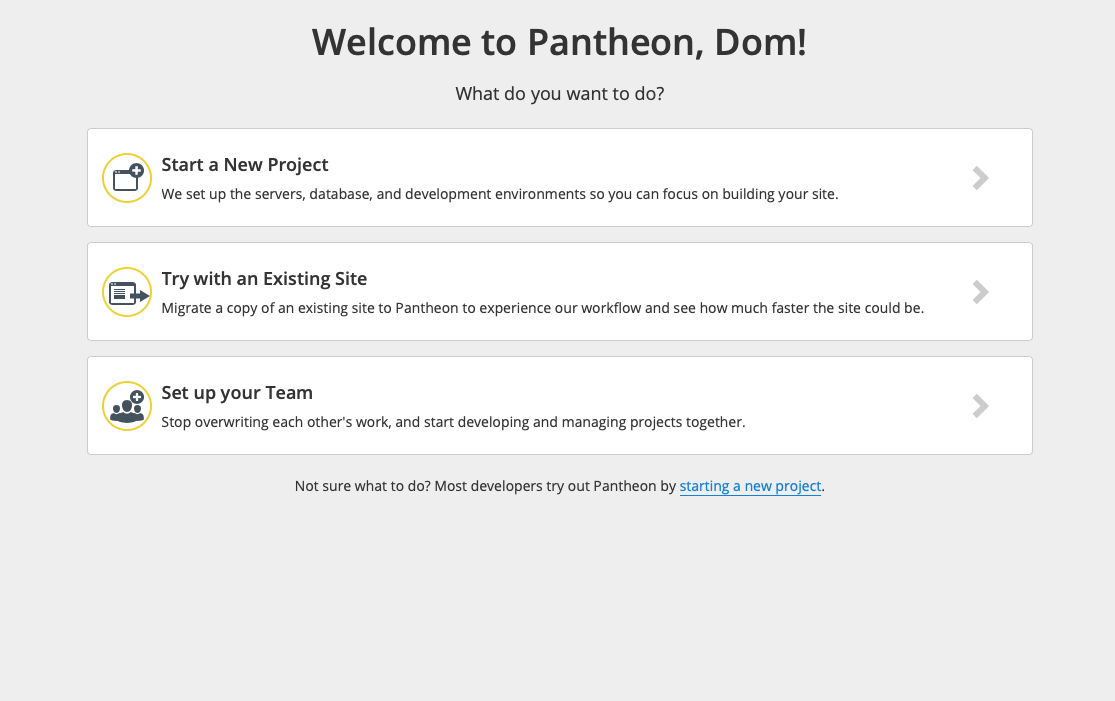
- Click to Start a New Project.
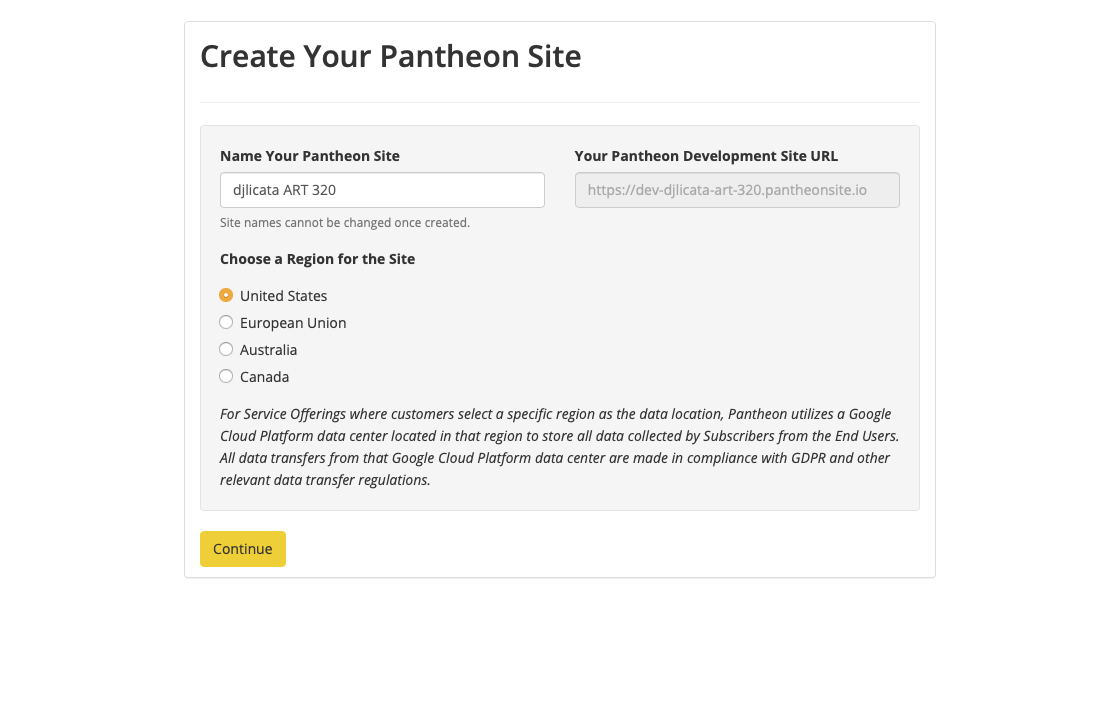
- Chose a name for your site. Please use at least your UBIT name as the first word in your title. Record your URL.
- On the following screen, click to Deploy WordPress.
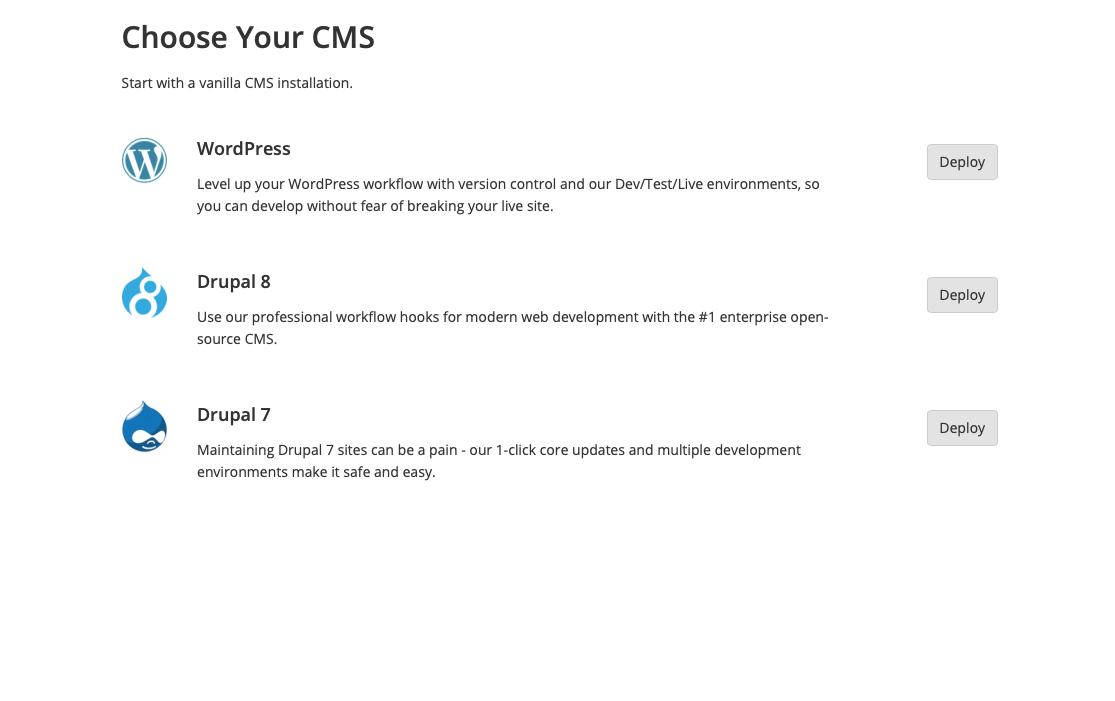
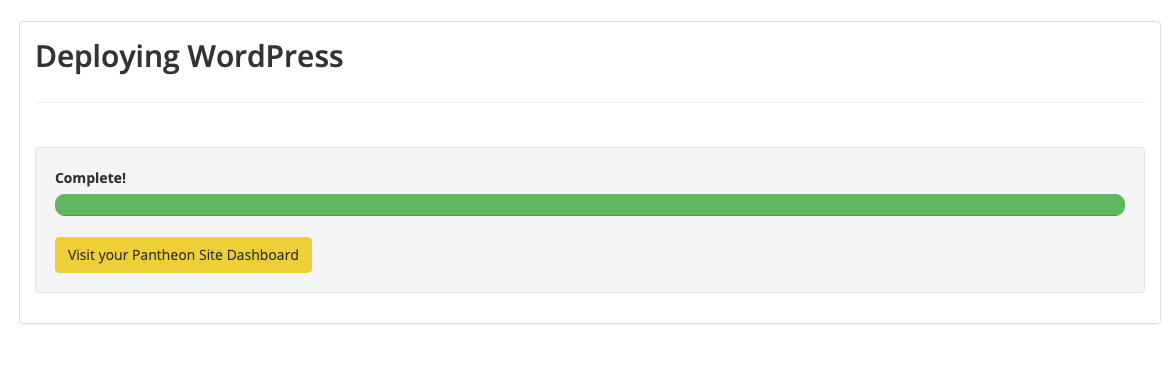
- On the screen after that, click to Install WordPress.
- Choose a Site Title, Username and Password for your WordPress site. Please remember your password. (It can be the same as your Pantheon password entered earlier, or a different one.)
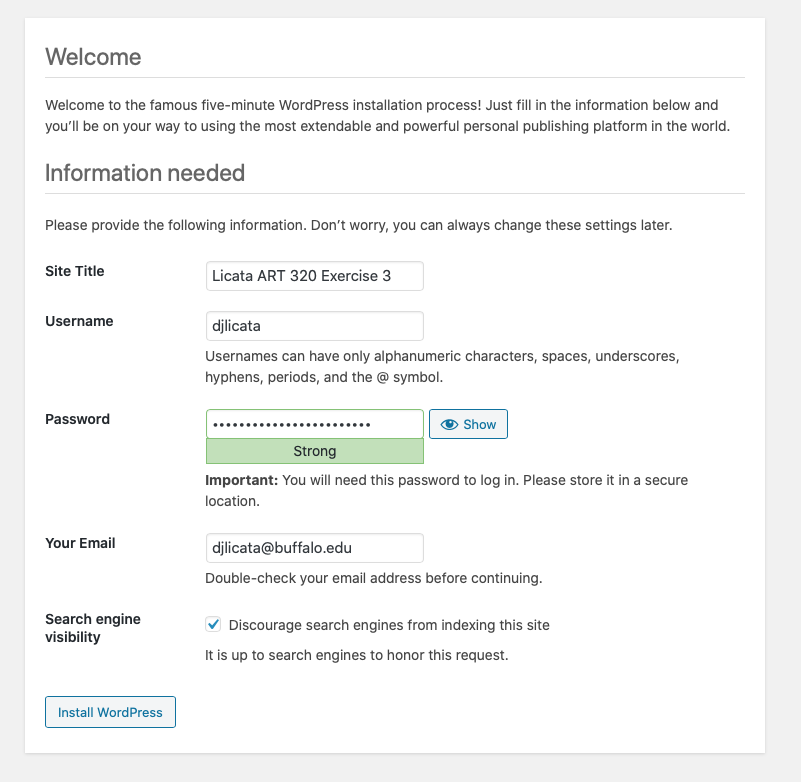
- Complete site installation and visit the site to see the “Sample Page” and a “Hello World” post. Make note of your site URL as it appears in your browser address bar.
Part 2: Connect to Pantheon via SFTP (Cyberduck)
- Setup your FTP client. If you are using your personal computer, download and install the free version of Cyberduck.
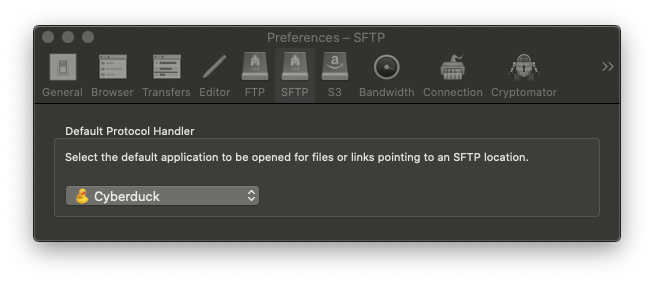
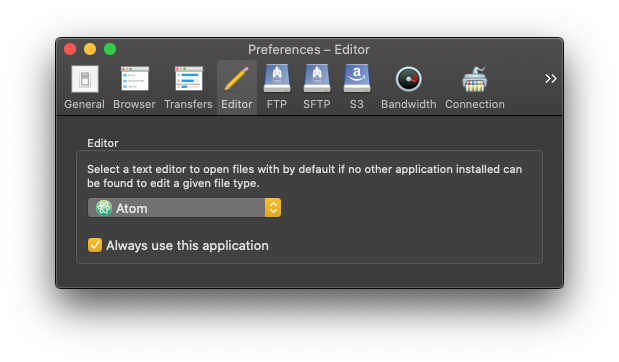
- If you’re using a Mac, choose Cyberduck>Preferences and click SFTP> Set Cyberduck as you default SFTP handler, and then Editor, set Atom as the text editor, and check “Always use”.
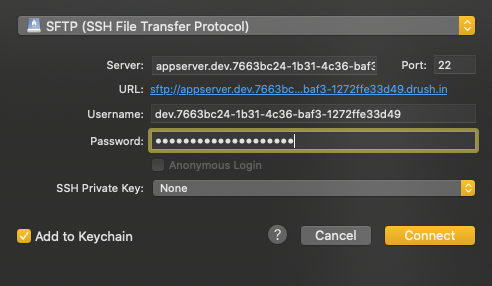
- In your Pantheon Dashboard, choose Development Mode: SFTP, then click Connect via SFTP. Record the below information, and copy it into a Cyberduck File>Open Connection Window:
- Hostname
- Username
- Password (this would be your initial Pantheon dashboard password)
- Port 2222
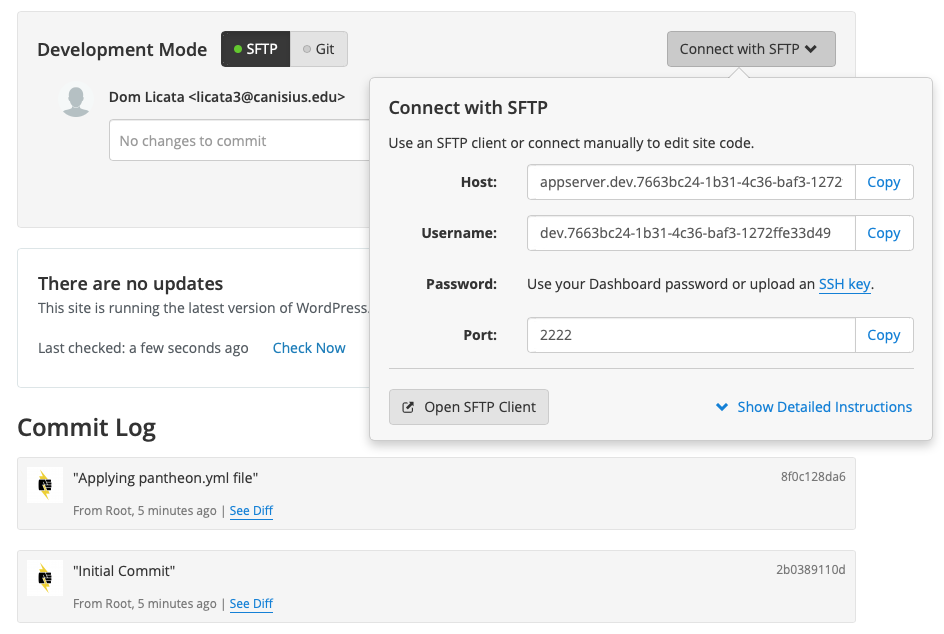
- Be sure to connect via the SFTP Protocol.
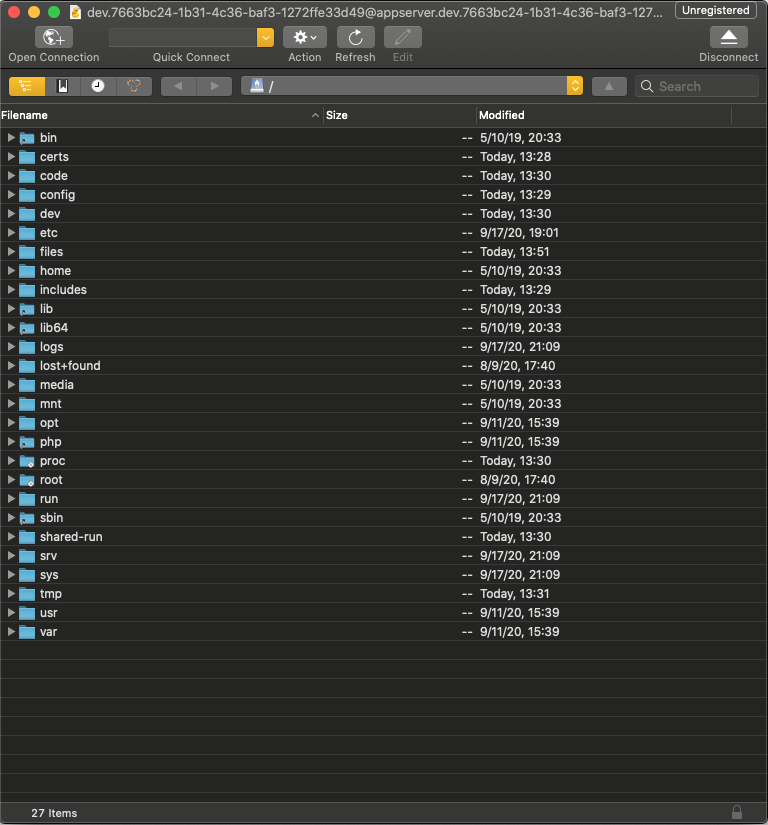
- Double-click the Code folder. Choose Bookmark>New Bookmark to save this connection info to make subsequent logins easier.
- To login to your WordPress dashboard, you can click “Site Admin” from your Pantheon Dashboard, or type in your WordPress site’s URL followed by
/wp-login.php.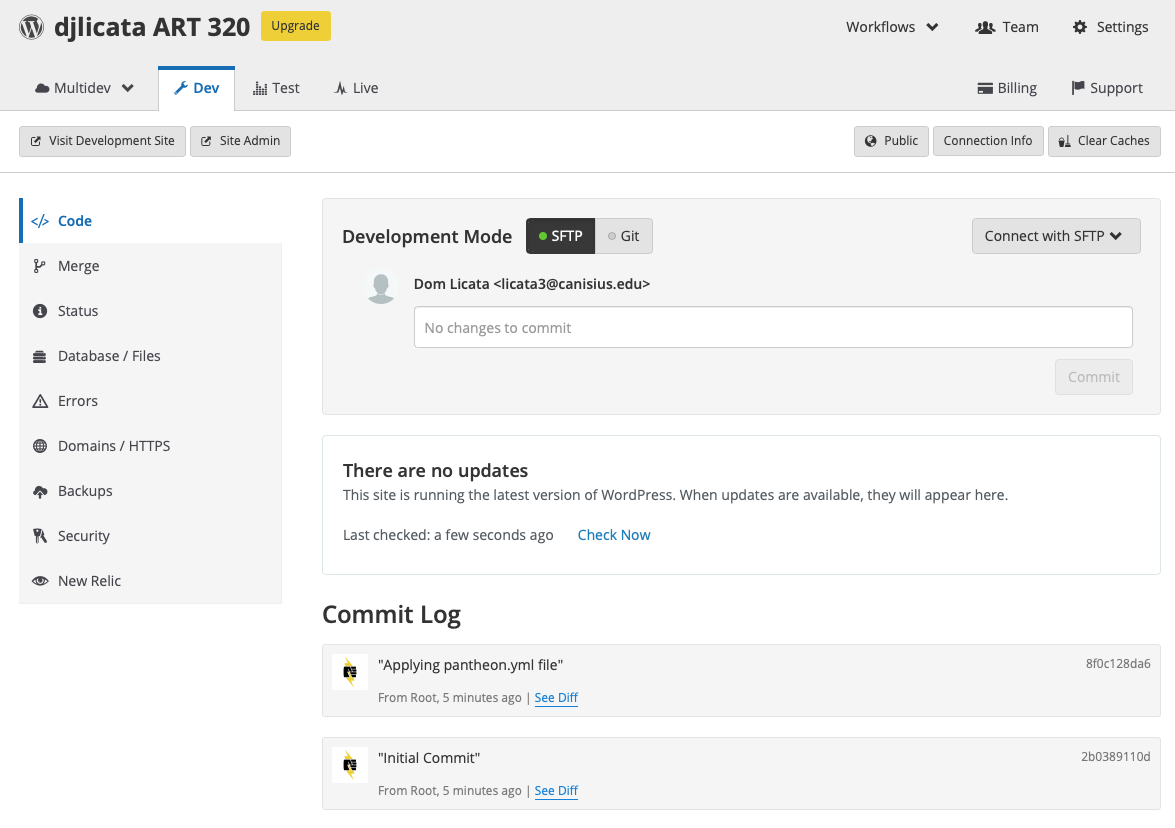
Part 3: Configure Your WordPress Site
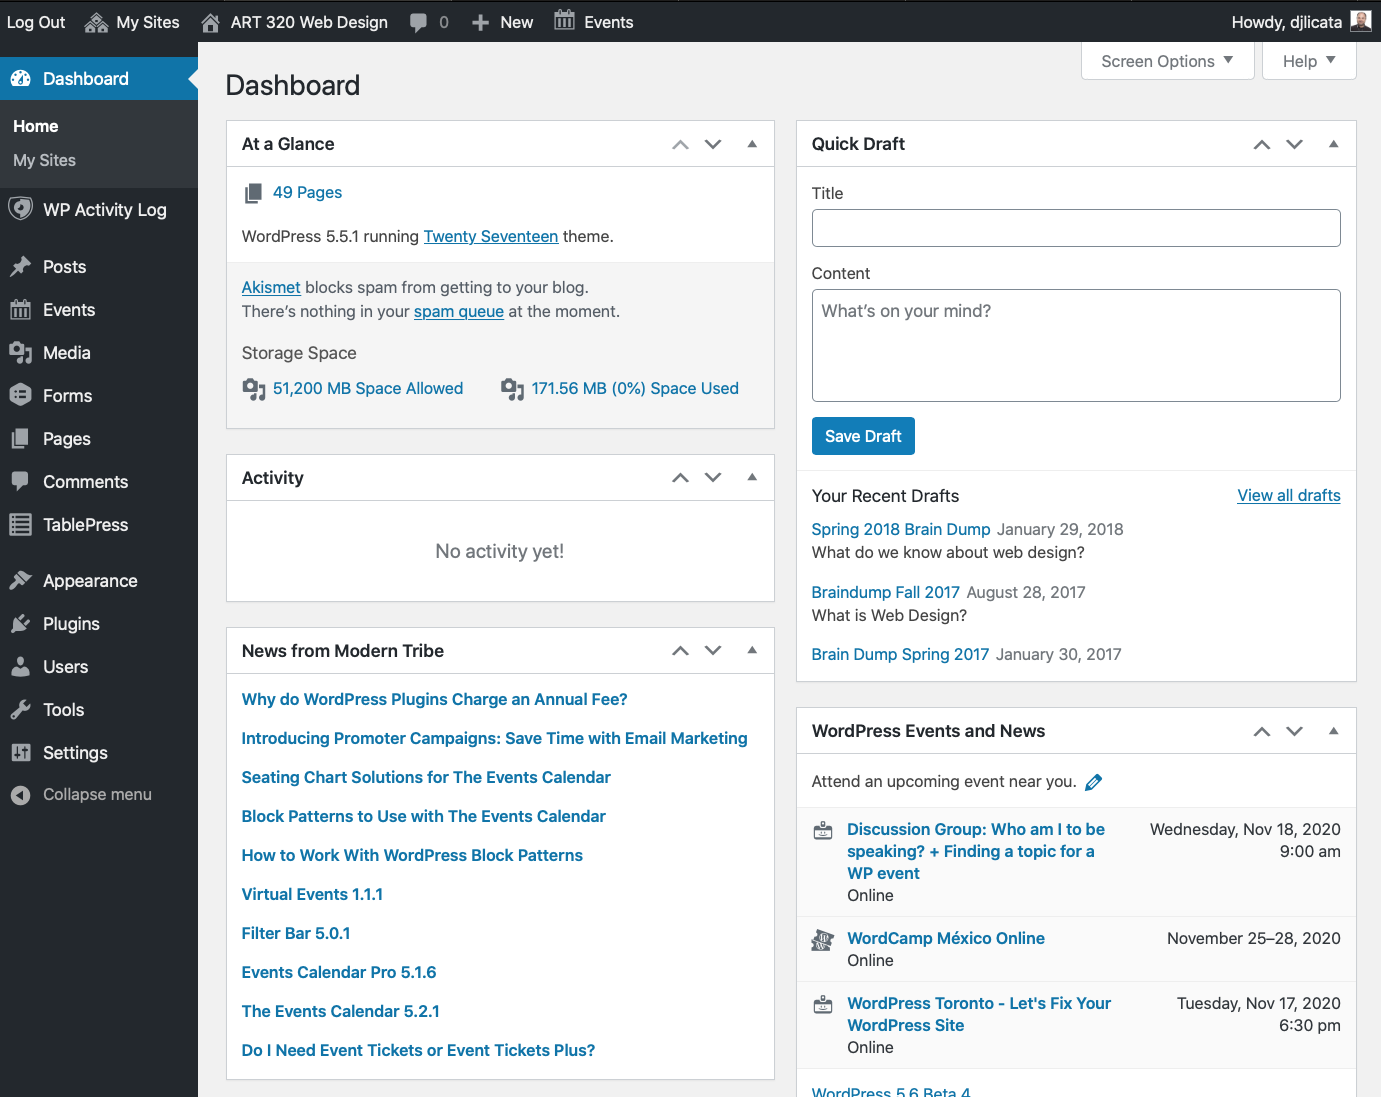
- In Settings>General, review your Site Title , Tagline and your email address (for admin purposes.)
- Note the box for Membership: Anyone can register. DO NOT check this box.
- Set the Time Zone for New York
- Save Changes
- In Settings>Reading, you can choose to have the landing page show your latest posts or a static page. For now, choose Static Page: Sample Page.
- Save Changes
- In Settings:Discussion, you can choose to allow visitors to leave comments on posts and pages.
- Check: Comment must be manually approved.”
- In Settings:Permalinks, you can choose how the URL for each page will appear. Choose “Post Name”.
- Create a New Page. Type “Home” in the Title block. Add some additional blocks for content, including subheads, paragraphs and lists. Note the URL (permalink) assigned to the page contains the Title you entered. Publish the page.
- Create a New Page. Title it “Work”
- Create a New Page. Title it “Design”. Under page attributes, make Design a child of Parent: Work.
- Create a new page, Blog, and assign it as your Posts Page in Settings>Reading. Change the landing page to Static Page: Home.
- Create a New Post. Title it “Welcome to My Blog” or something equally exciting.
- Embed a YouTube video
- Add links to your blog post.
- Add a list.
- Delete the Sample Page and Hello World Post. Set the new Home page as your static landing page in Settings>Reading.
- Appearance>Menus. Create a new menu and add your new pages and put them in order. Make sure Design is indented under Work. Select the proper Theme Location for your menu to appear.
- Visit your site to see your new content. Select different themes (Appearance>Themes) and notice the changes to the design.
Part 3: Install a Theme and Create a Child Theme
As explained at codex.wordpress.org, a Child Theme “inherits the functionality of it’s parent”. They are the best way to modify an existing (parent) theme. You can alter CSS rules an create alternative template pages, without modifying the parent theme files. Any new style or page in the Child overrides that functionality in the Parent.
Reasons for using a child theme:
- If you modify an existing theme and it is updated, your changes will be lost. With a child theme, you can update the parent theme (which might be important for security or functionality) and still keep your changes.
- It can speed up development time.
- In Appearance>Themes, choose Add Theme and search for Philips
- Activate the new Philips theme. View the site and observe the theme’s features.
- Create a folder in wp-content/themes to hold your child theme. It should be named with the parent name and the -child suffix. In our case, name your child theme folder philips-child.
- In the child theme folder, create a file called style.css.( This is the only file required to make a child theme.) Edit the file in Atom. The style sheet must begin with this code. (The only required lines are the Theme Name, and the Template.)
/*
Theme Name: Philips Child
Description: Philips Child Theme
Template: philips
*/
@import url("../philips/style.css");
/* Theme customization starts here --------------------------- */ - Activate the Template-Child theme.
- Add styles to the child theme which will override the parent styles:
body {
background-color: #d5d7ff;
text-align: left;
font-size: 12px /* Sets base value at 1em = 12px */
font-family: "Lucida Grande", Lucida, Verdana, sans-serif;
} - Modify template files. Any file in the parent can be overridden by a file in the child with the same name. For example, to modify the header, drag and drop a copy of header.php from the parent to the child folder. Open the child folder copy in Atom. Add the following code to line 35 before the closing div tag:
<img src="https://pbs.twimg.com/profile_images/504388449252933632/B1H2eo72_400x400.jpeg" height="100px" width="100px" alt="ubART 320 Logo">Copy the modified header.php file to the philips-child folder. Observe that the header has changed on each page of your site.