Screencast: Brief Intro
Deadlines:
- Critique: Tues 3/16
- Project due and uploaded to BOX: Sunday 3/28
Overview
Establish a 4+ page standards-based responsive site in WordPress for your own art/design practice using HTML5, external CSS3. The site must include an interactive image gallery (NextGen Gallery WordPress plugin recommended) and a contact form (Contact Form 7 plugin recommended). If you are not an Art/Design major without a body of work for an online portfolio, speak to the instructor about a topic relevant to your studies.
Process Timeline
The project will play out over several phases and include two opportunities for consultations with the instructor:
- Week 1: Identify the theme and architecture of your site. If you are a design or art student, you should use this as an opportunity to create an online portfolio. Create several rough sketch options for general site layout.
- Week 2: Choose one option and create a clean wireframe, drawn with all elements to scale so that measurements can be applied.
Begin to build HTML and CSS based on wireframe.
Choose visual elements and style guidelines: colors, typography, other visual treatments.
(See yellow wireframes used for Mondrian exercise. Proposals and wireframe(s) submitted to instructor prior to consultation.
(Note: Wireframes show general content areas and relative sizes of the various elements on your page. They do not need to include actual content. If all pages of your site will be built with the same general layout, only one wireframes is needed. If pages have different structural foundations, for example if your home page has a structurally different design from your other pages, you may need to create more than one wireframe to build upon.) - Week 3: Finalize static HTML page and linked CSS style sheet based on your measured-out wireframe(s). Page should demonstrate a structural design foundation, with containers for navigation and content. (Actual content need not be present.) Refer to exercises 1 and 2. Code-in-progress consultation with instructor.
- Week 4: Convert static HTML and CSS into a custom WordPress theme. Intall in your Pantheon account. Refer to exercise 4.
- Week 5: Continue to refine custom WordPress theme and begin to add content.
- Week 6: Continue to refine custom WordPress theme and finalize content.
- Week 7: Code-in-progress critique and final site assembly.
- Week 8: Final site due.
Technical Requirements
Pages
Include the following pages with consistent navigation on each page:
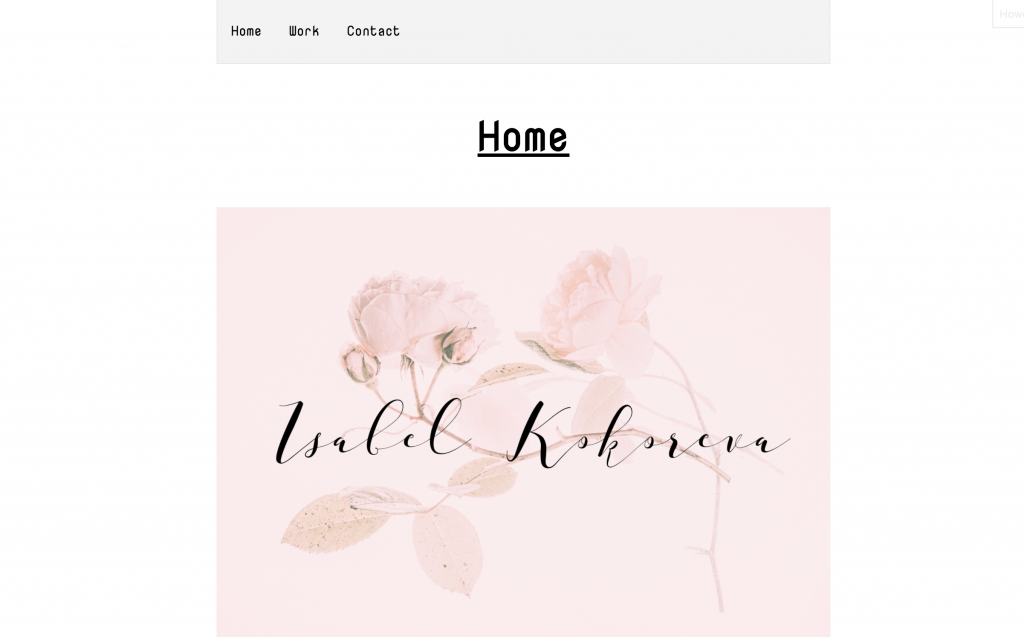
- Home: introductory information your subject. This is probably the first thing people will see when they come to the site.
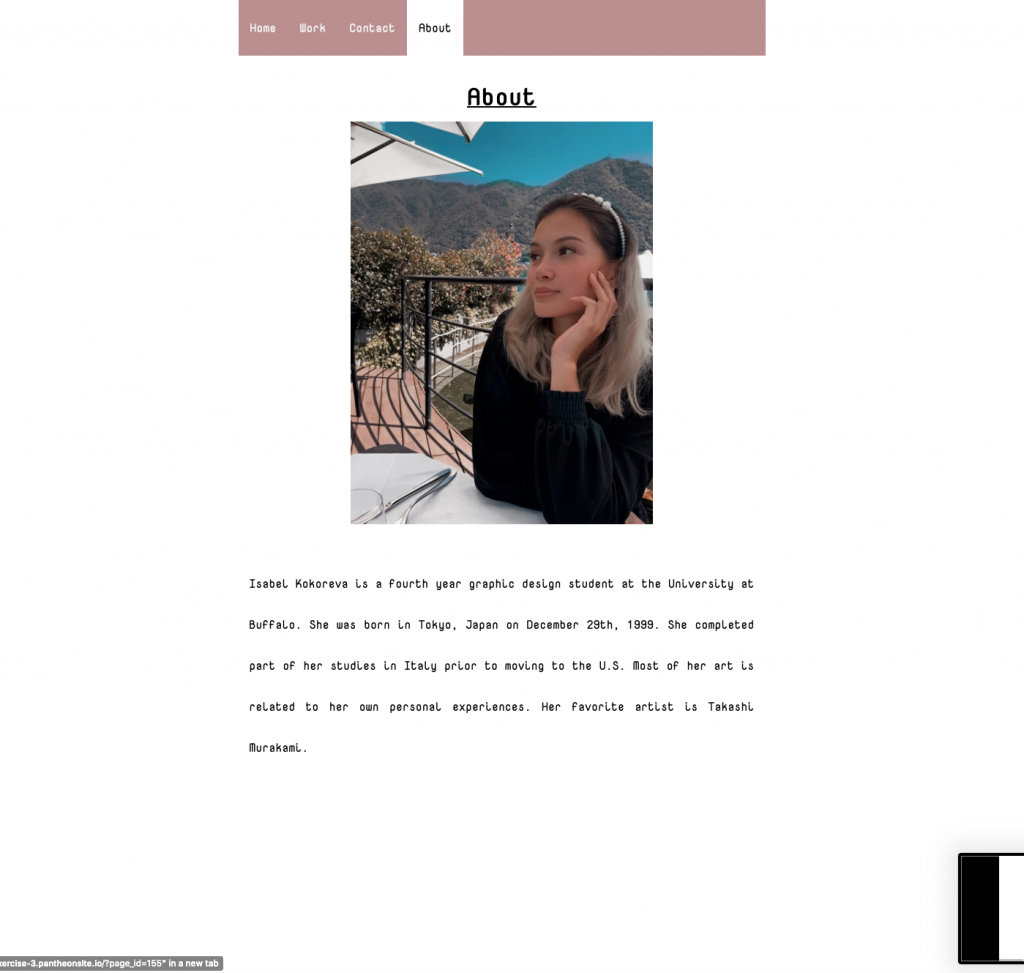
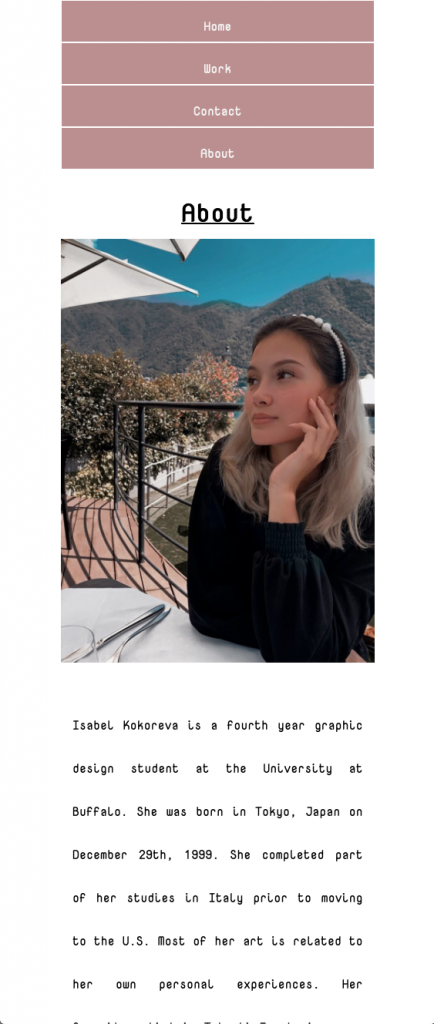
- About: a brief biography and/or artist statement, including one or more in-line pictures, as needed.
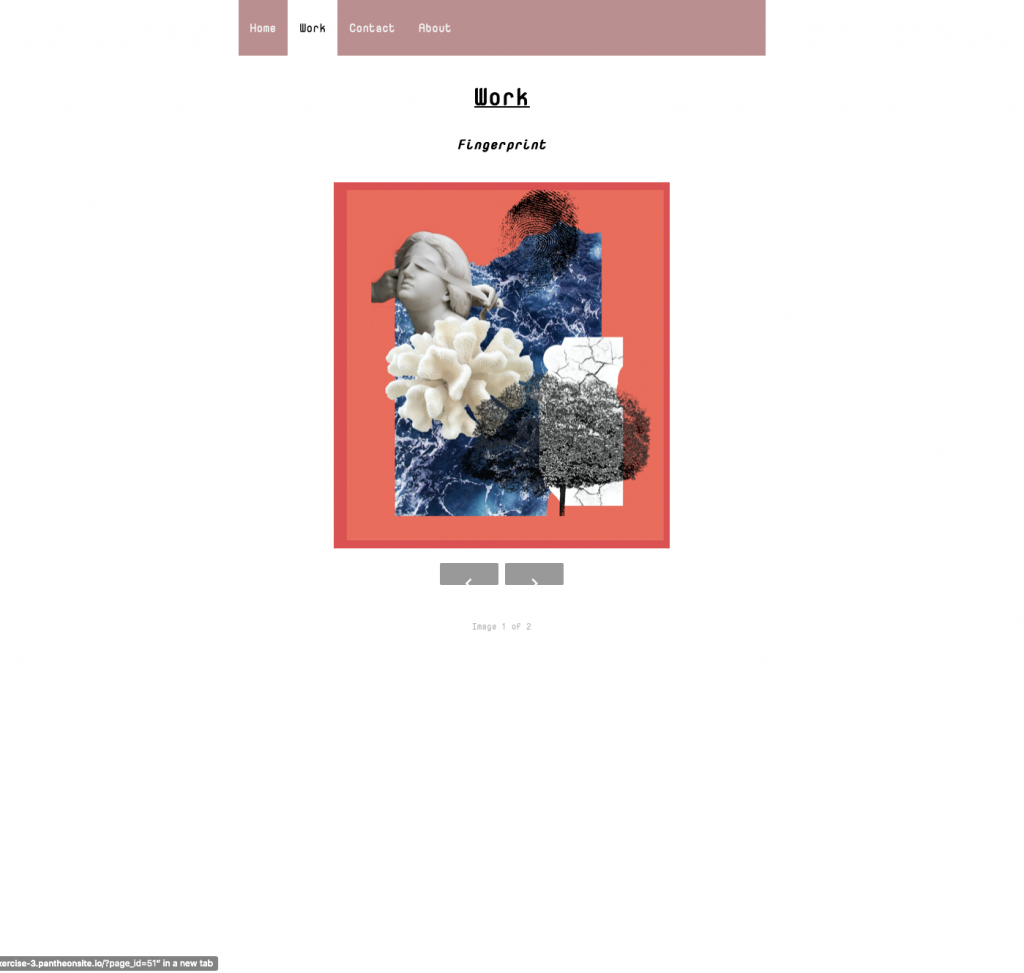
- Image Gallery: a page with thumbnail images that link to full-size images. The instructor will demo the NextGen WordPress plugin.
- Contact: will include a form that can be used to contact you, without exposing your email address.The instructor will demo the ContactForm7 WordPress plugin.
- Additional pages as needed.
Wireframes, Static HTML and CSS
- You must have developed a clean wireframes with measurements in place from which to build out your code.
- Static HTML and support CSS will demonstrate a structural design foundation, with containers for navigation and content.
- Create additional HTML pages if the structure and design of any page differs substantially from the others.
WordPress Themes
- Based on the static HTML and CSS you have built, create a custom theme from scratch and install it in WordPress on your http://pantheon.io account created in Exercise 3.
- Your theme should contain, at minimum, these files:
header.php
index.php
footer.php
style.css
functions.php
screenshot.png (1200px wide by 900px tall) representative of overall design. - The Loop must be used to show dynamic content, such as individual page material, images and galleries, and other content which is different from page to page.
- Custom (dynamic) Menus must be used for main navigation. (Hardcoded links may be used for certain content outside of a nav bar.)
- The site must include an interactive image gallery (NextGen Gallery WordPress plugin recommended) and a contact form (Contact Form 7 plugin recommended).
Design and Content
- All links must be functional.
- There must be no missing or broken images.
- Images must be optimized for the Web — scaled, downsampled and compressed. There should be no images in your theme folder that are not displayed in your site.
- The site design must respond appropriately (not break) at different screen sizes. CSS must incorporate both fluid containers (percentage widths) and media queries at necessary breakpoints.
- Use typography principles in a thoughtful and appropriate manner. Use of Google Fonts (or other web font service) is required. Consideration should be given to overall design quality. Typography, graphic treatments, and information organization will be evaluated as part of your grade.
- Final projects will be evaluated by visiting the sites in your Pantheon account. Also submit your most updated Theme folder according to the instructor’s instructions.
Grading Criteria
To be considered in the grading process:
Meeting milemarkers throughout the project process will be expected, to ensure that progress is being made in a timely manner. These include:
- Completion of Sketches
- Converting sketches to polished Wireframes
- Developing HTML/CSS Prototype
- Converting HTML/CSS to a WordPress Theme
CRITIQUE GRADE
- Sufficient amount of work-in-progress completed
- Sketches and wireframes carefully measured out and built
- Demonstration of basic concepts of HTML & CSS
- Enough elements in place to discuss approach to information architecture and usability — consistent navigation, information organization
- Enough elements in place to discuss approach to visual design — color choice, typography, overall unified and thoughtful layout
FINAL PROJECT GRADE
- All requirements as stated above are present
- Technical Execution — all links work, no missing images
- Responsiveness — layout changes according to screen size, with no breaks in or disruptions to the page design
- Information architecture, navigation and usability—Thoughtful and consistent
- Visual Design—Appropriate design choices, well styled typography, color choices and graphical treatments, unified composition of elements
- Punctuality
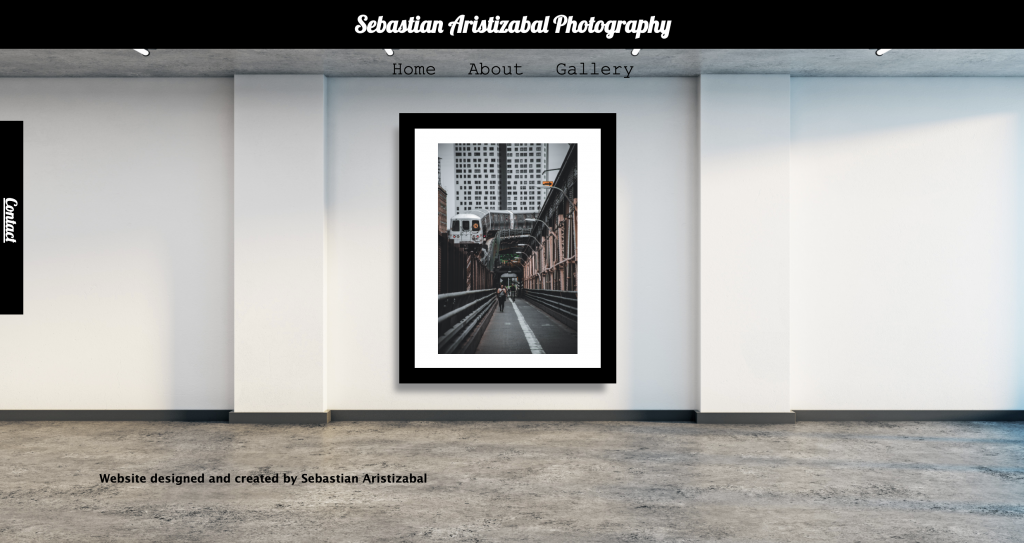
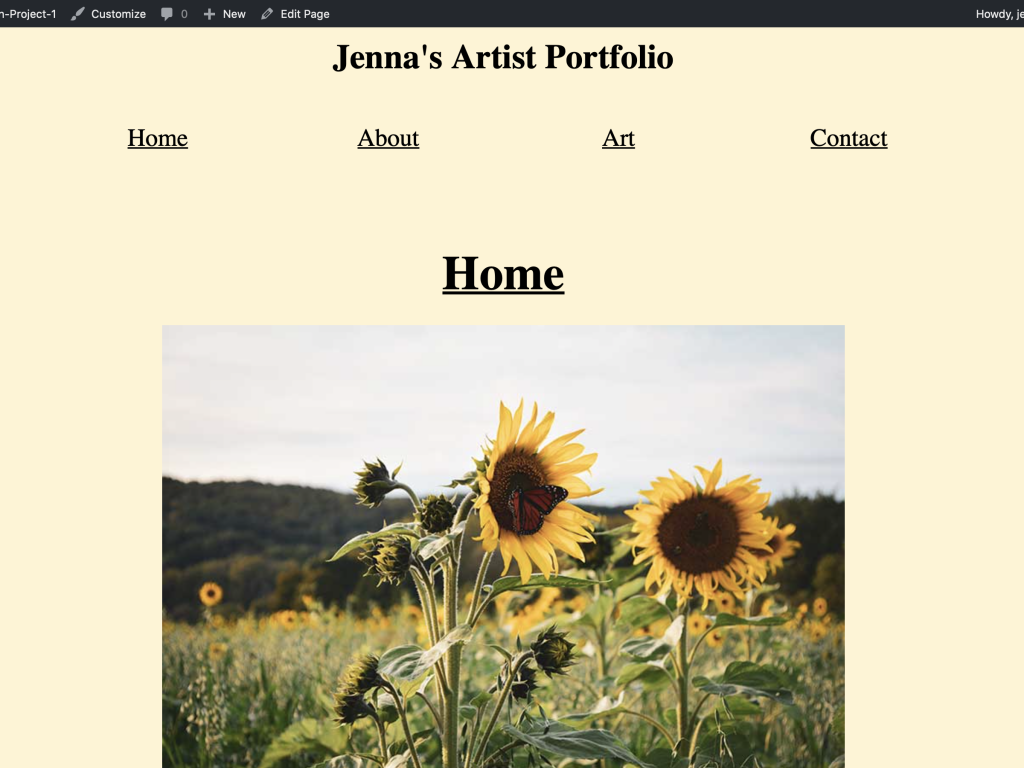
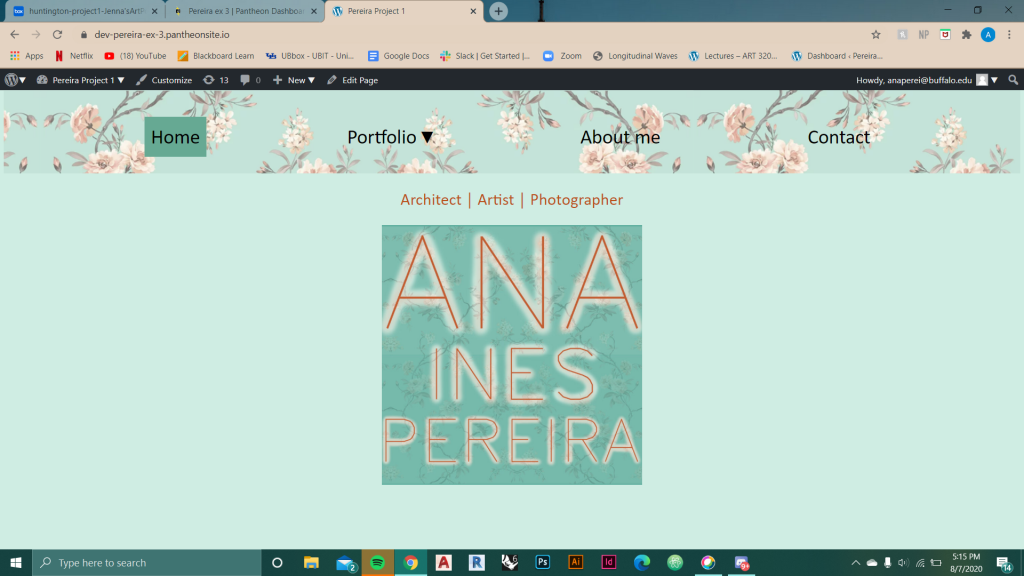
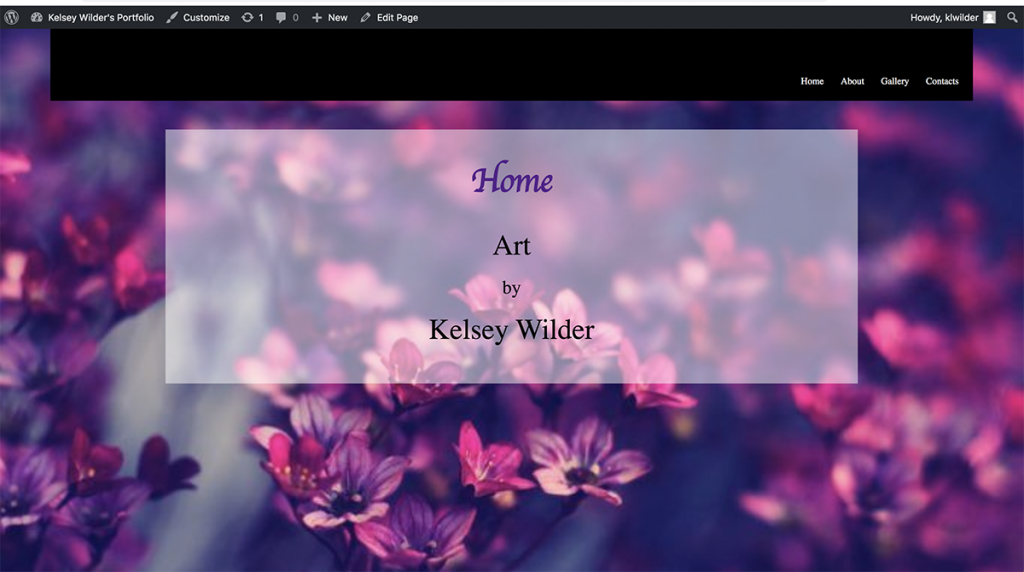
Previous Student Examples

Technical Tips
Additional WordPress Template Files
WordPress requires that index.php be in your theme folder. If it is the only template, it will be used for all pages, posts, and the page which displays all blog posts. If your home page or other individual pages have a different layout than your posts page, consider using these additional template files:
- page.php: if index.php is used to display a list of posts and page.php is present, page.php will be the default template for all pages
- front-page.php: If you have set Settings>Reading to display a static page as your starting page, that page will use front-page.php, if present.
Custom Templates
Create additional template pages as needed for any page which has a unique layout from the other pages. For example, if your Gallery page has a very different layout than all other pages, create a gallery.php template.New template pages must begin with the following code so that they show up in the WordPress page settings and can be applied as a page’s template:
<?php
/*
Template Name:yourtemplatename_template
*/
?>
Loops
More about Loops.
Custom CSS Based on Page
By using this php within your <body> tag, WordPress will attach a class name based on each specific page title.
<body <?php body_class(); ?> >A page that is set as a static home page will have the class .home.
The designated blog page will have the class .blog.
All pages will have a class based on the numeric page ID, such as .page-id-61. You can discover the page ID and class name using the browser’s Inspector.
You can then create rules for any elements within the .class body container, such as:
.home p {}
.about h1 {}
Useful Plugins
Alternative Image Gallery Plugins:
- Modula: Nice mosaic-grid layout function
- Simple Lightbox (for the image enlargement effect without having to create galleries.)
Advanced Custom Fields
If you require more than one container on a single page that will be filled with dynamic content, you can create a custom field for each of those areas, then add content to those fields from within the Dashboard. For example, you might have boxes in two or more different locations on a page, each with its own content.
- Install and activate the Advanced Custom Fields plugin.
- Within the “Custom Fields” section of your WordPress Dashboard, create the fields that you need, organized into “Field Groups”, and adjust the appropriate Field Settings.
- On the pages that will contain the fields, add content into the field through the Dashboard.
- Within your Theme template files, determine where the field content should appear. Place php code into your template, and add the necessary CSS to your style sheet. Example: <div id=”CustomFieldName”><?php the_field(‘field_name’); ?></div>
See the Advanced Custom Fields Documentation for more details.
Other Technical Tips
- Your CSS should at least include this Reset Code as used in the exercises:
/* Universal Selector Reset cssreset.com */ * { margin: 0; padding: 0; box-sizing: border-box;} /* End Reset */ - Divide your html pages into appropriate sections, making sure that tags are balanced across all pages: header.php; index.php (and page.php or front-page.php if needed); sidebar.php (if needed) and footer.php.
- index.php (and page.php or front-page.php if needed) must include
<?php get_header(); ?> [at the top] <?php get_sidebar(); ?> [if needed] <?php get_footer(); ?> [at the bottom] - To included certain types of WordPress support, you should place
<?php wp_head(); ?>before the closing </head> tag in header.php, and<?php wp_footer(); ?>before the closing </html> tag in footer.php. - Be sure to replace hard coded links and image embeds using templates tags, as discussed in exercise 4.
- Use this code in your head section to replace the <title> element with the name of the page being viewed:
<title> <?php global $page, $paged; wp_title( '|', true, 'right' ); bloginfo( 'name' ); ?> </title> - The loop should be included at least once, probably in the main content area of your page.
- Download/install plugins for forms (such as Contact Form 7) and your gallery (such as NextGen Gallery). Create custom CSS to override style supplied by plugins. (You may need to use the
!importantmodifier. - THEME Backups:
Many developers edit “remote” files (which reside on a server) directly through Cyberduck. If you do not have “local” copies of your files (on your own drives) and the server copies are deleted or corrupted, then you will need to rebuild them from scratch. My advice is to periodically transfer a copy of your theme folder to your own drive. Give the folder a date or a version number, and tuck it away. Another strategy is to work on local files, then upload them to make your changes live. Whichever way you choose, be sure to keep current local copies of your theme folders.